Discover the Top Beginner-Friendly Welders: MIG, Stick, and Flux-Cored Options Explained
Best welder for beginners, beginner welding machine, easy-to-use welder for beginners, affordable welding machine for beginners, best MIG welder for beginners, best stick welder for beginners, what is the best welder to start with, best welding machine for DIY projects, cheapest welder for beginners, best beginner welder for home use.
Best Welder for Beginners: A Complete Guide to Choosing Your First Welding Machine
Welding is a valuable skill that opens up a world of possibilities, from DIY projects to professional fabrication. But for beginners, choosing the right welding machine can feel overwhelming. With so many options available, how do you know which welder is best for beginners? In this guide, we’ll break down the top beginner-friendly welders, including MIG, stick, and flux-cored options, and provide tips to help you make the right choice.
What to Look for in a Beginner Welder
When selecting your first welding machine, there are a few key factors to consider:
1. Ease of Use
As a beginner, you’ll want a welder that’s simple to set up and operate. Look for machines with intuitive controls and clear instructions.
2. Affordability
Welding can be an expensive hobby, but there are plenty of budget-friendly options for beginners. Aim for a machine that offers good value without compromising on quality.
3. Versatility
A versatile welder can handle a variety of materials and thicknesses, making it ideal for beginners who want to experiment with different projects.
4. Portability
If you plan to move your welder around, consider a lightweight and compact machine.
5. Safety Features
Look for welders with built-in safety mechanisms, such as thermal overload protection, to ensure a safe welding experience.
Top Welders for Beginners
Here are the best welders for beginners, each suited to different needs and budgets:
1. MIG Welders
MIG (Metal Inert Gas) welding is one of the easiest welding processes to learn, making it perfect for beginners.
- Why It’s Great for Beginners:
✔️ Easy to use with minimal setup.
✔️ Produces clean, strong welds on thin to medium-thickness materials.
✔️ Ideal for steel, stainless steel, and aluminium. - Top Beginner MIG Welders:
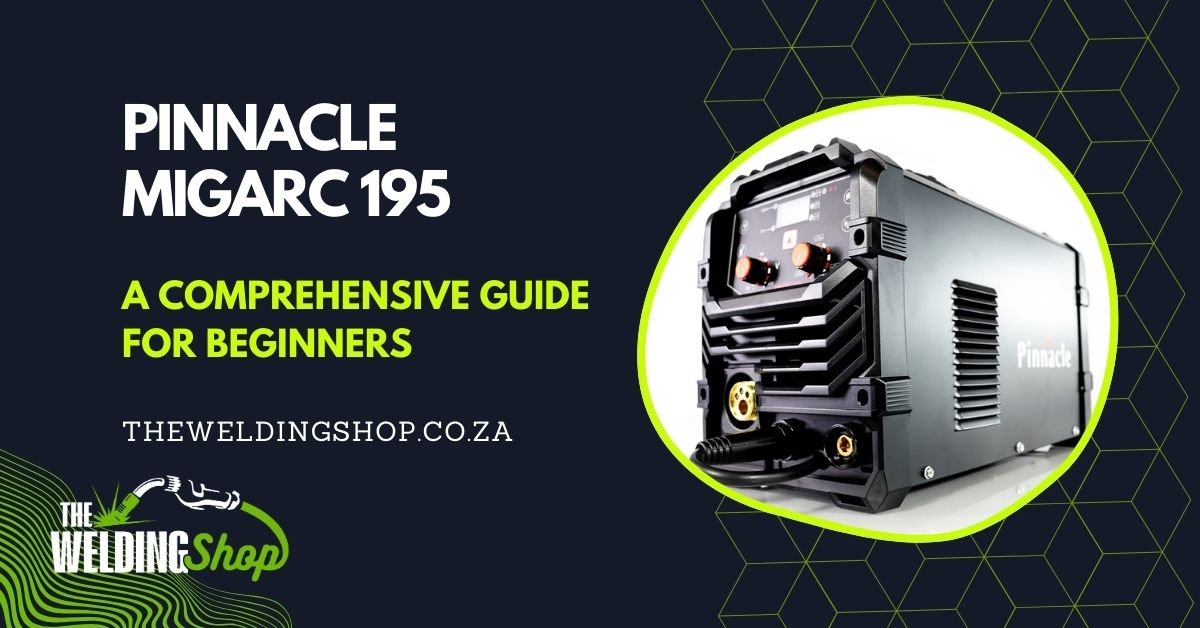
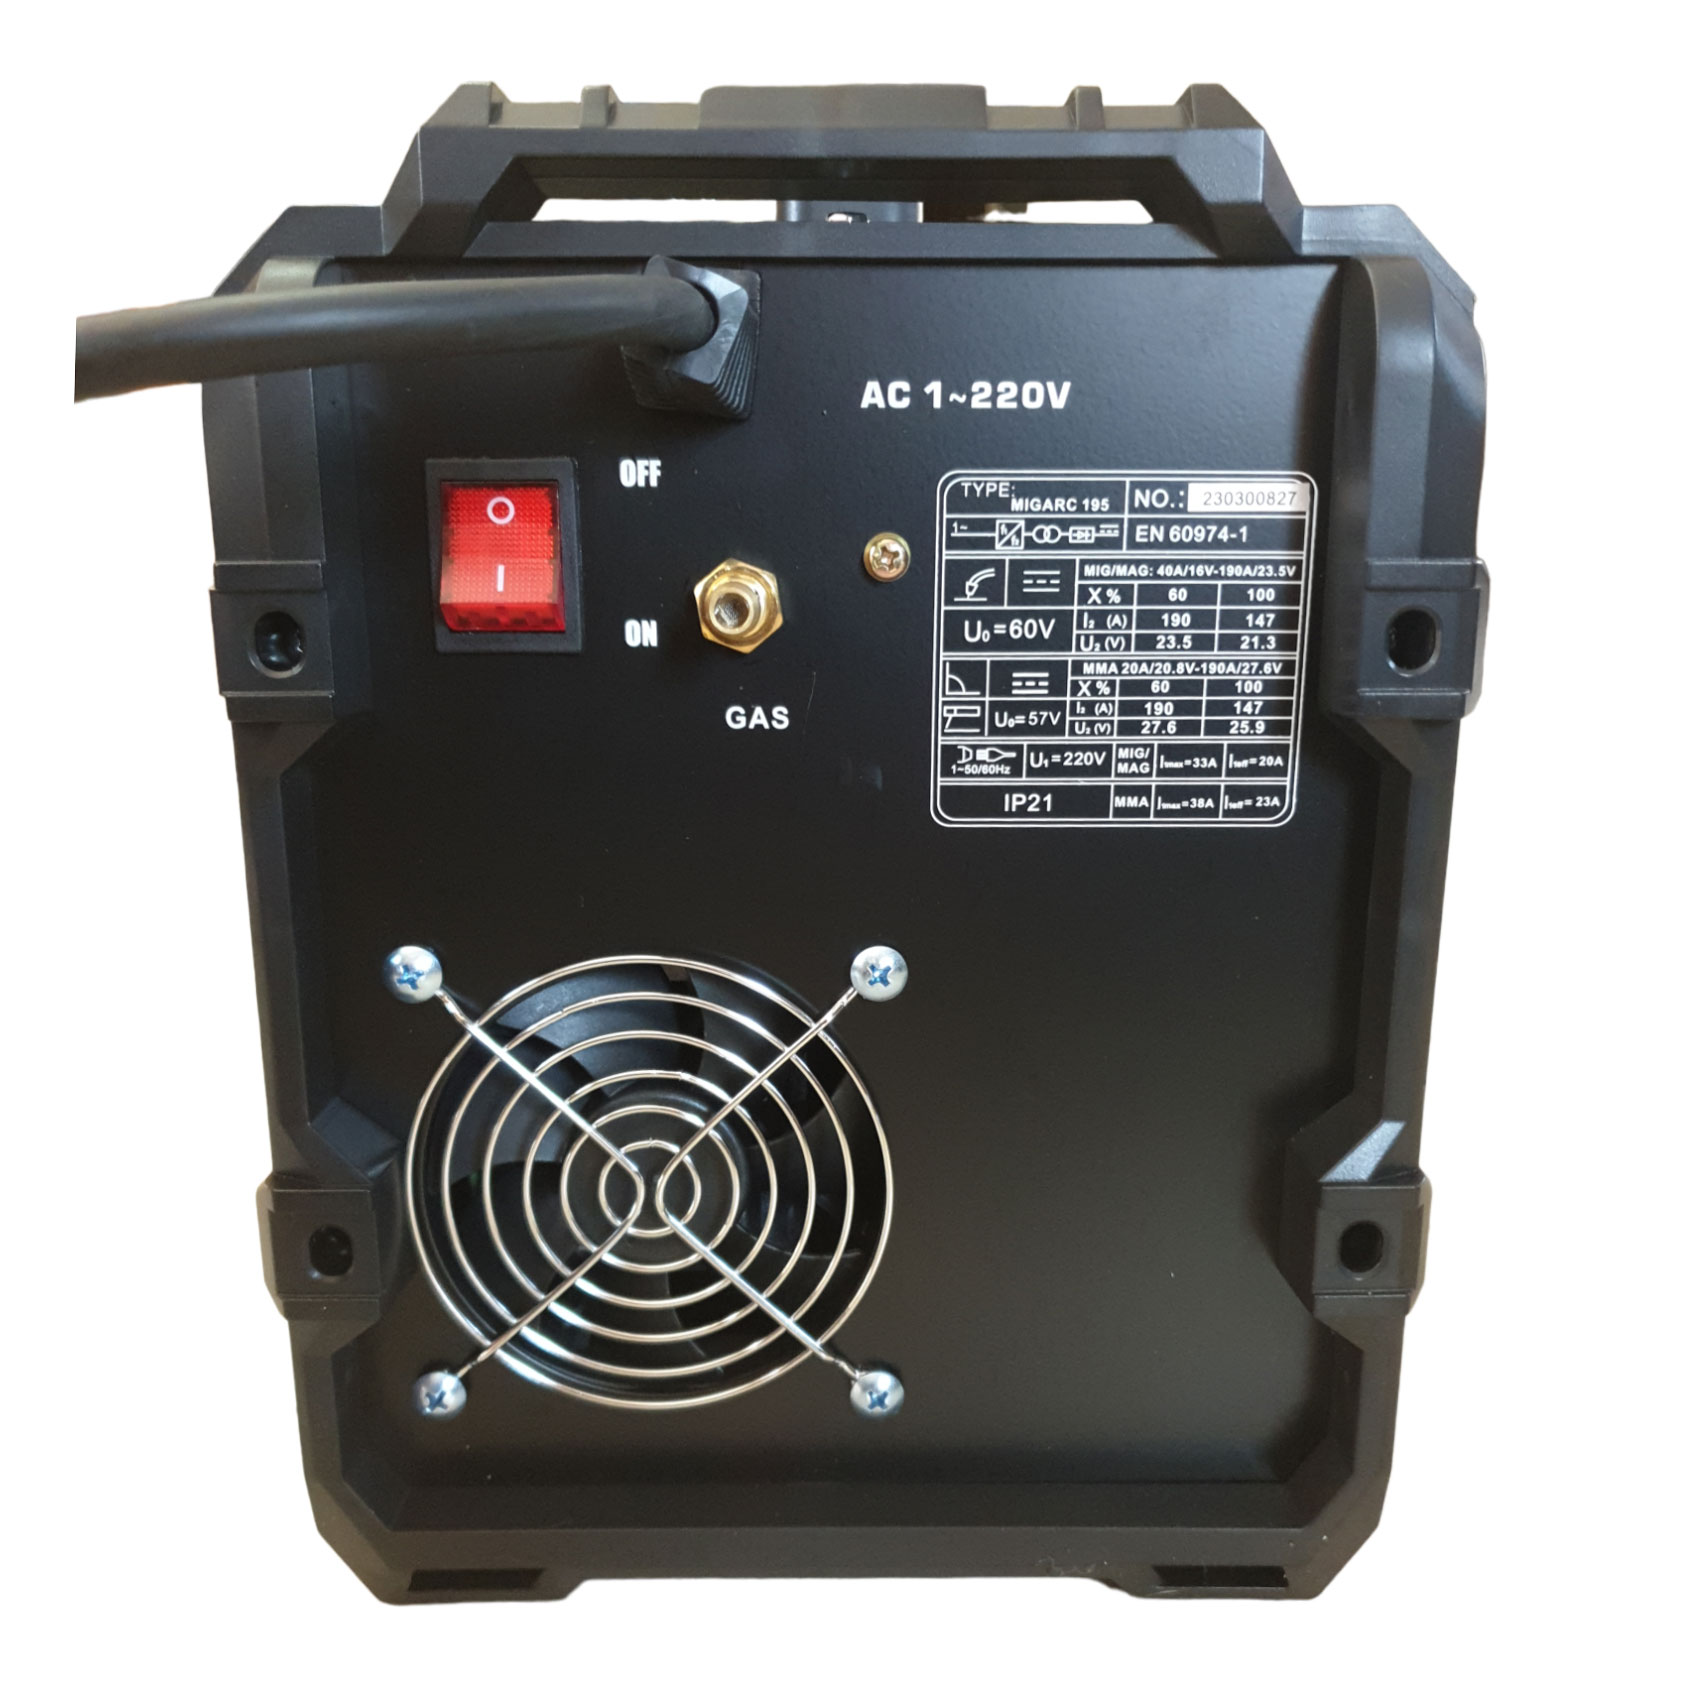
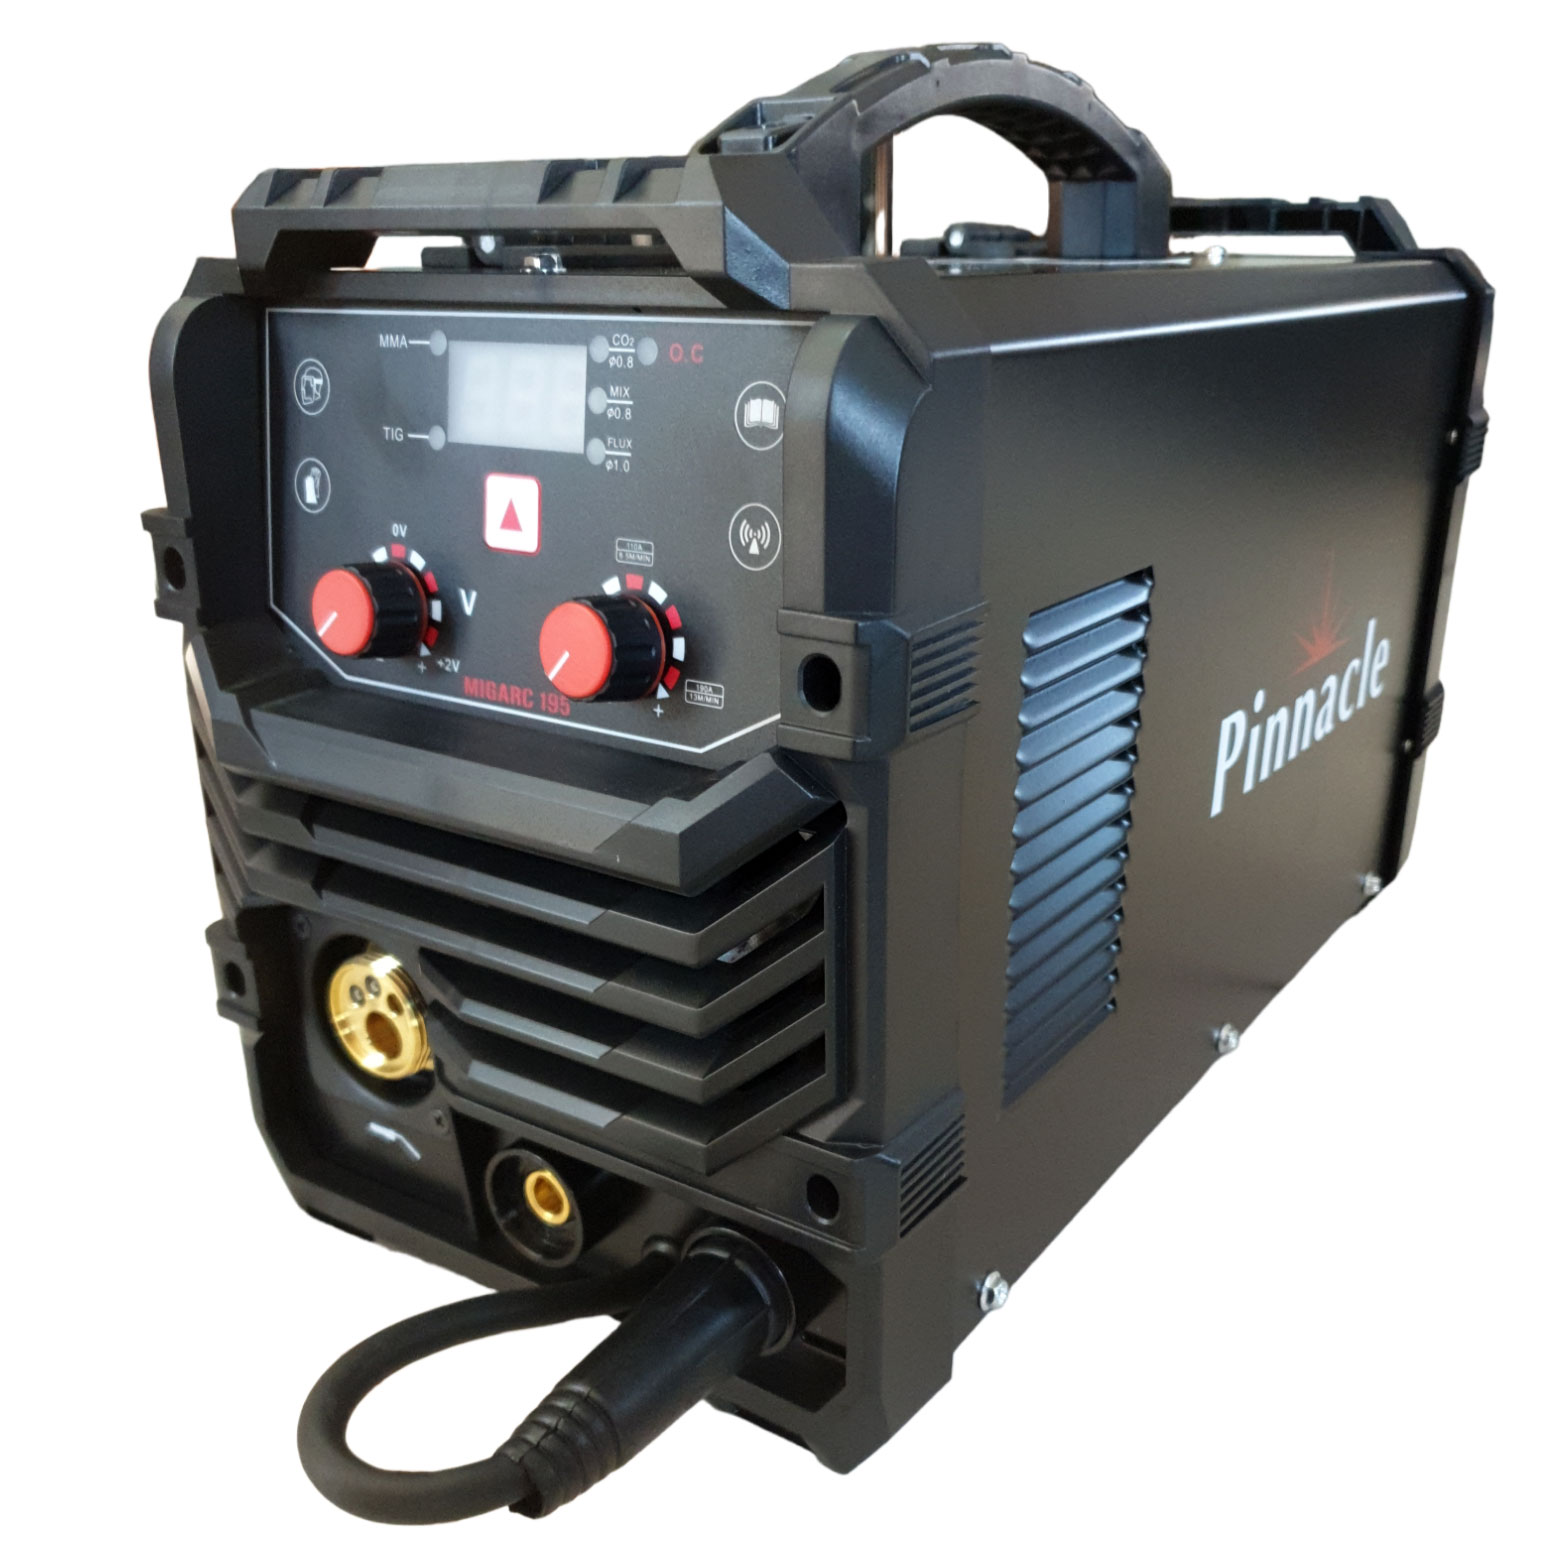
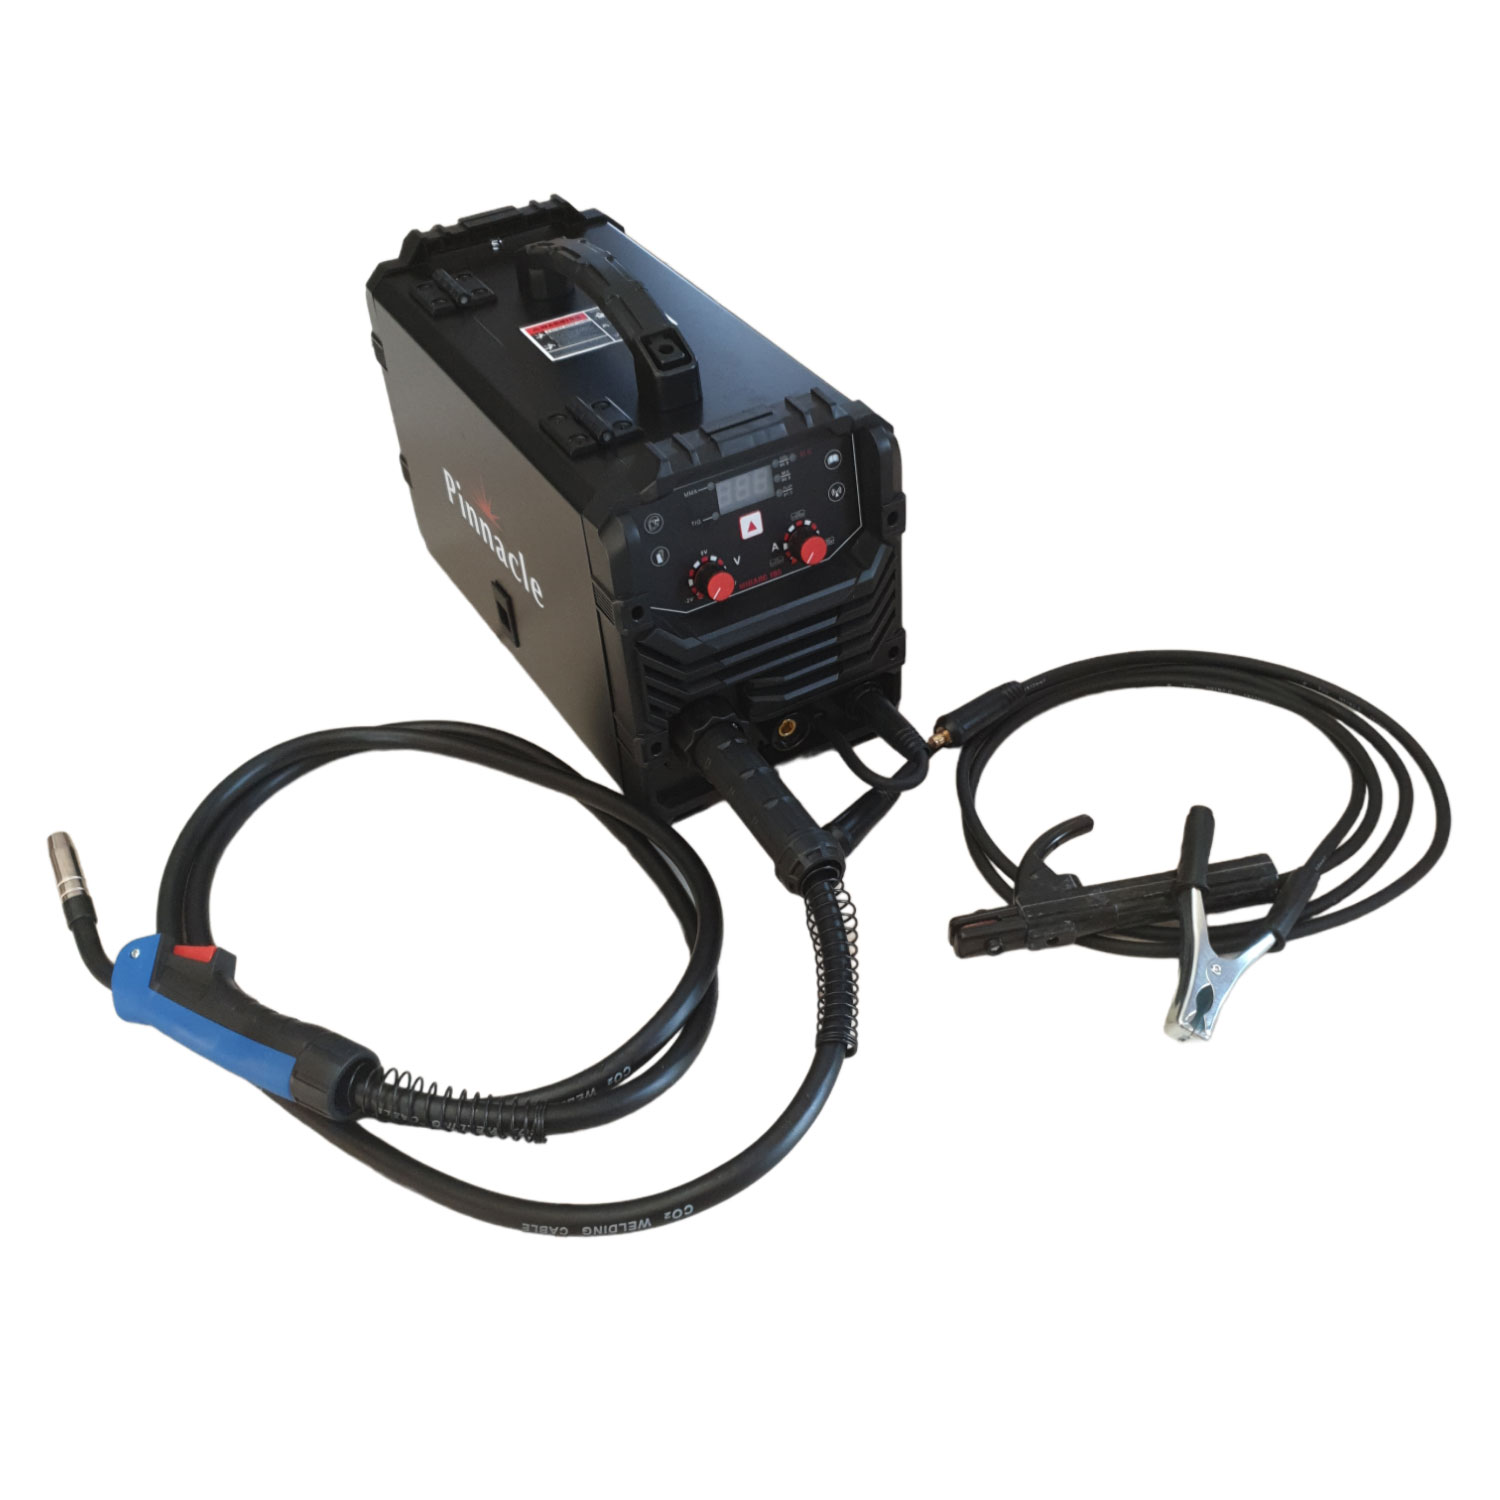
- Pinnacle Welding MIGARC 195: Affordable and reliable, perfect for home use.
- Pinnacle Welding MIGARC 165: Versatile and user-friendly, great for DIY projects.
2. Stick Welders (MMA)
Stick welding, also known as Manual Metal Arc (MMA) welding, is a classic choice for beginners.
- Why It’s Great for Beginners:
✔️ Affordable and widely available.
✔️ Works well on rusty or dirty materials.
✔️ Ideal for outdoor use. - Top Beginner Stick Welders:
- Pinnacle Welding GENE SP22: Compact and budget-friendly.
- Pinnacle Welding PrimiARC 201VRD: Durable and easy to use.
3. Flux-Cored Welders
Flux-cored welding is similar to MIG welding but doesn’t require shielding gas, making it a cost-effective option.
- Why It’s Great for Beginners:
✔️ No need for gas, reducing setup costs.
✔️ Works well on thicker materials.
✔️ Ideal for outdoor projects. - Top Beginner Flux-Cored Welders:
- Rilon 160E Gasless MIG Welding Machine: Reliable and easy to operate.
- Pinnacle MIGARC 145 Galsess MIG Welding Machine: Lightweight and portable.
4. TIG Welders
TIG (Tungsten Inert Gas) welding is more advanced but offers unparalleled precision.
- Why It’s Great for Beginners:
✔️ Produces high-quality, clean welds.
✔️ Ideal for detailed work on thin materials. - Top Beginner TIG Welders:
- Pinnacle ProTIG 180 TIG Welding Machine: User-friendly and versatile.
- Pinnacle ProTIG ACDC 200P TIG Welding Machine: High performance, capable fo welding Aluminium, with beginner-friendly features.
Best Beginner Welders in South Africa
If you’re in South Africa, here are some local recommendations for beginner welders:
- Pinnacle Welding MIGARC 195: Available at The Welding Shop, Affordable and reliable, perfect for home use.
- Rilon 160E Gasless MIG Welding Machine: Available at The Welding Shop, Reliable and easy to operate. gasless mig welding
- Pinnacle ProTIG ACDC 200P TIG Welding Machine: Available at The Welding Shop, High performance, capable fo welding Aluminium, with beginner-friendly features.
Tips for Beginner Welders
- Start with Simple Projects: Practice on scrap metal before tackling complex jobs.
- Invest in Safety Gear: Always wear a welding helmet, gloves, and protective clothing.
- Learn Proper Techniques: Watch tutorials or take a beginner’s welding course.
- Maintain Your Equipment: Regularly clean and inspect your welder for optimal performance.
FAQs
1. What’s the easiest welder to use for beginners?
MIG welders are the easiest to use, thanks to their simple setup and user-friendly controls.
2. How much does a beginner welder cost?
Beginner welders typically cost between R2,000 and R10,000, depending on the type and brand.
3. Can I weld aluminium as a beginner?
Yes, but you’ll need a MIG or TIG welder with the appropriate settings and shielding gas.
Conclusion
Choosing the best welder for beginners doesn’t have to be complicated. Whether you opt for a MIG, stick, or flux-cored welder, the key is to select a machine that suits your needs, budget, and skill level. With the right welder and a bit of practice, you’ll be creating strong, clean welds in no time.
Ready to start your welding journey? Explore our range of top-rated beginner welders at The Welding Shop and find the perfect machine for your needs. Have questions or tips to share? Leave a comment below—we’d love to hear from you!